How to Download & Build DeepStream YOLOR on NVIDIA Jetson TX2NX?
WHAT YOU WILL LEARN?
1. How to Download & Build YOLOR?
2. How to Test YOLOR with a model?
ENVIRONMENT
Hardware: DSBOX-TX2NX
OS: JetPack-4.6
In this blog-post, we will download & run DeepStream YOLOR on NVIDIA Jetson TX2NX. First, we will download the YOLOR source files. Then, we will build & install the required packages. Finally, we will test the model file with DeepStream.
How to Download & Build YOLOR?
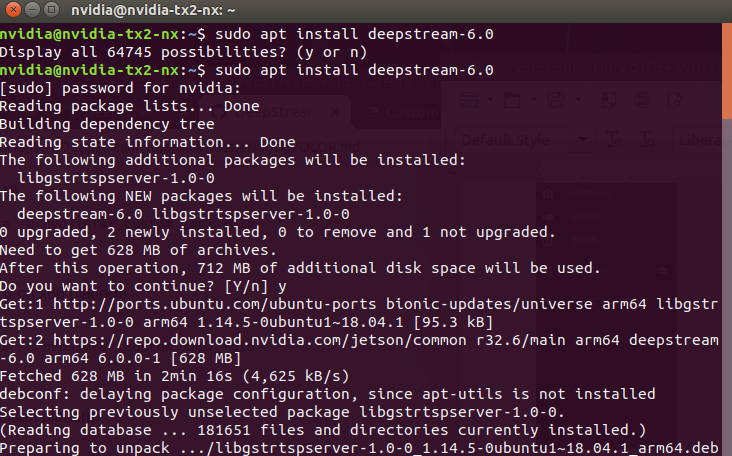
First of all, install deepstream using the command:
sudo apt install deepstream-6.0
Now, download the YOLOR repository using the following command:
git clone https://github.com/WongKinYiu/yolor.git
cd yolor
Upgrade pip setuptools wheel using the command:
pip3 install --upgrade pip setuptools wheel
Install numpy and matplotlib using the commands:
pip3 install numpy==1.19.4
pip3 install matplotlib
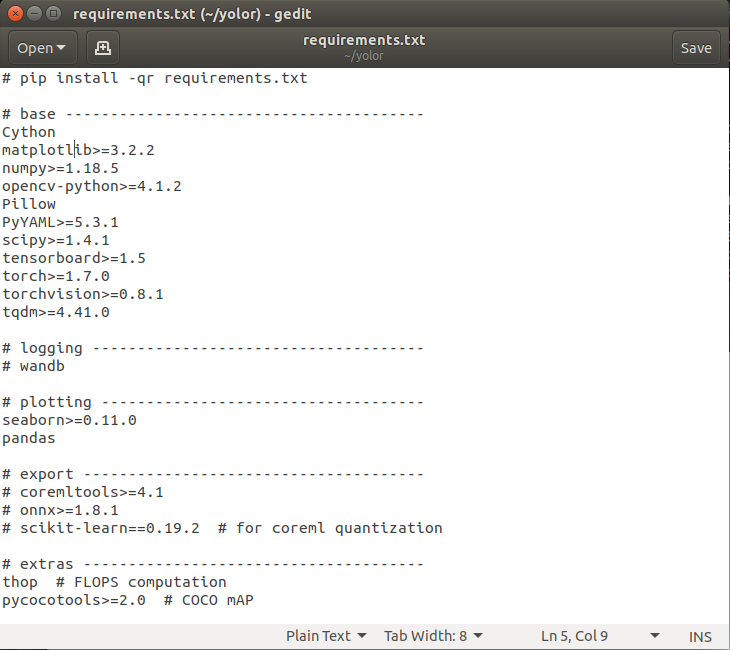
Edit the requirements.txt file in the yolor directory by changing
torch==1.7.0
torchvision==0.8.1
pycocotools==2.0
to
torch>=1.7.0
torchvision>=0.8.1
pycocotools>=2.0
Then, install the requirements for Deepstream using the command:
pip3 install -r requirements.txt
Now, download the Deepstream-Yolo repository usinf the command:
git clone https://github.com/marcoslucianops/DeepStream-Yolo.git
Copy the gen_wts_yolor.py file from DeepStream-Yolo/utils directory to the yolor folder.
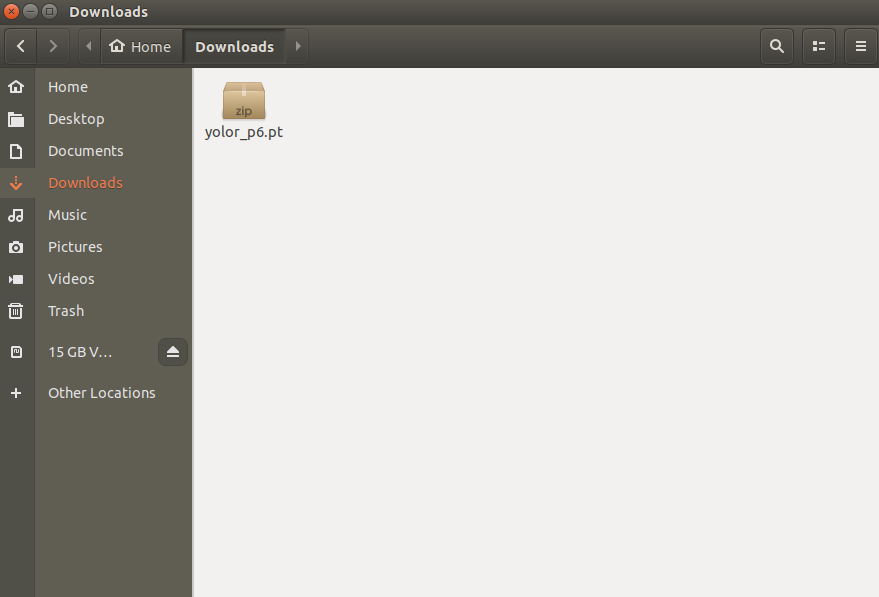
Download the yolor_p6.pt file from YOLOR repository using this link:
https://github.com/WongKinYiu/yolor
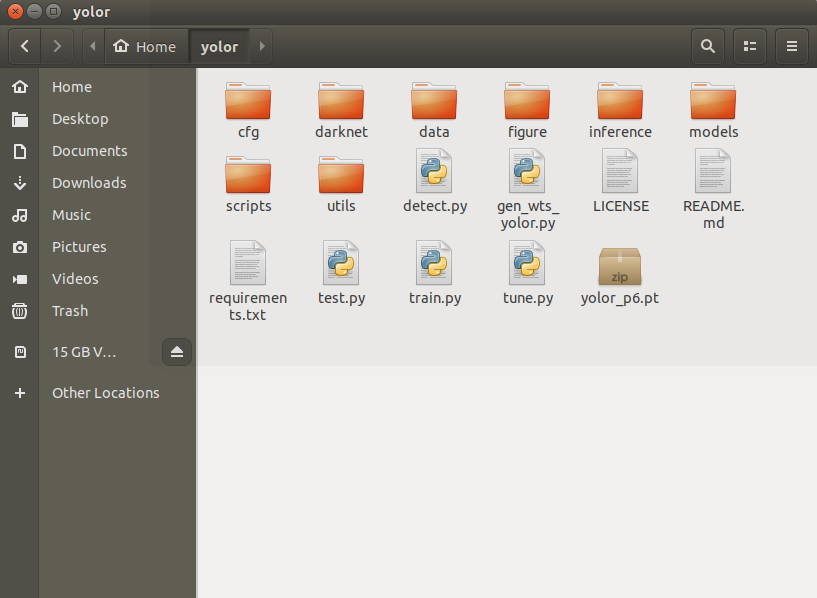
Now, move the yolor_p6.pt from the downloads directory to the yolor directory.
Generate the cfg and wts files using the command:
python3 gen_wts_yolor.py -w yolor_p6.pt -c cfg/yolor_p6.cfg
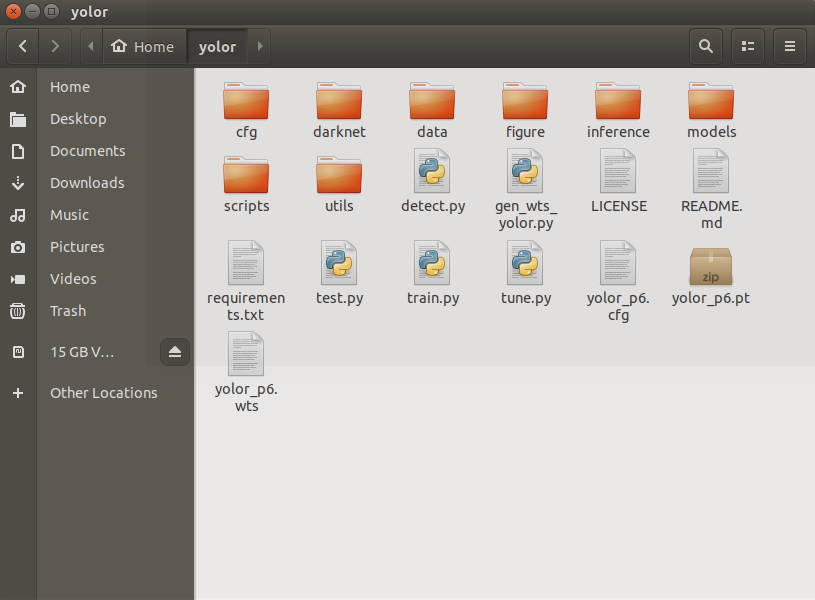
Copy the generated .cfg and .wts files in the yolor directory to the Deepstream-Yolo directory.
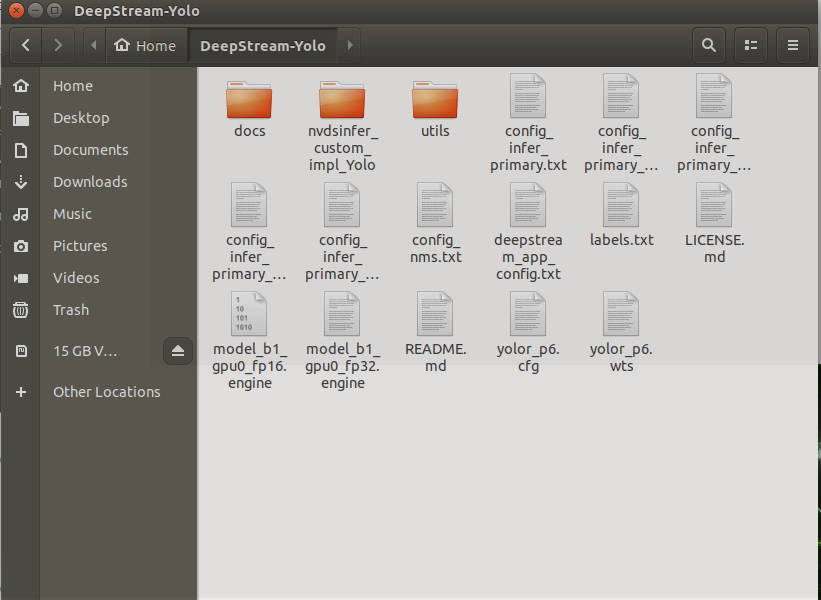
Now, cd (change directory) to the Deepstream-Yolo directory and compile the lib using the command:
CUDA_VER=10.2 make -C nvdsinfer_custom_impl_Yolo
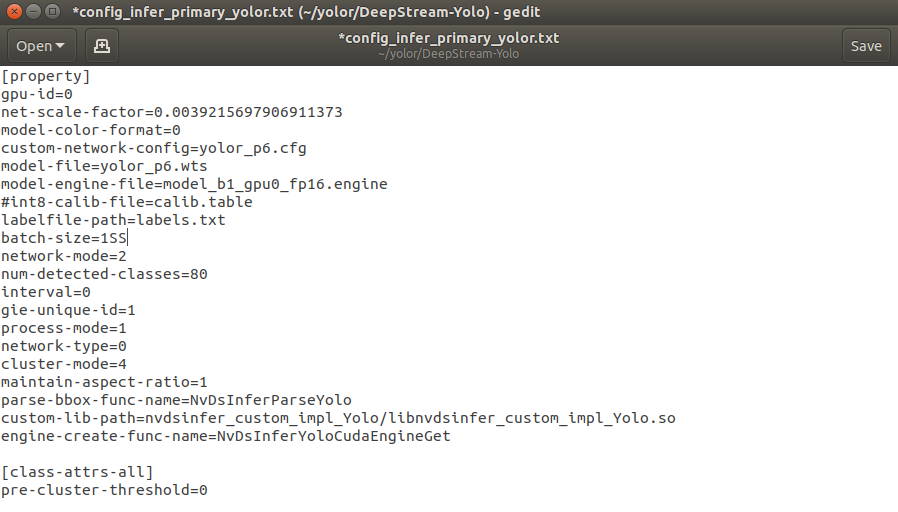
Edit the config_infer_primary_yolor file in the DeepStream-Yolo directory as seen below and save.
Change
network-mode=0
model-engine-file=model-b1_gpu0_fp32.engine
to
network-mode=2
model-engine-file=model-b1_gpu0_fp16.engine
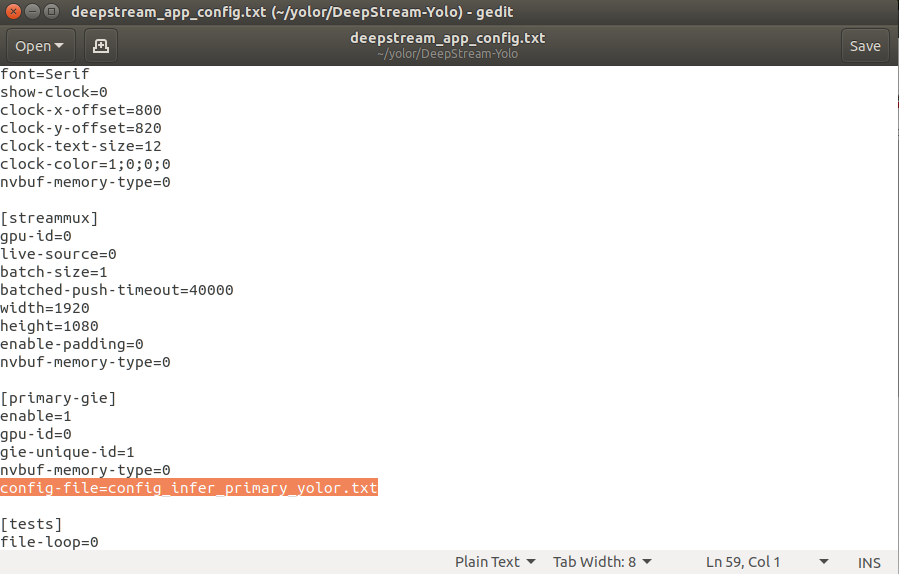
Edit the deepstream_app_config.txt file as seen in the highlighted part and save.
How to Test YOLOR with a Model?
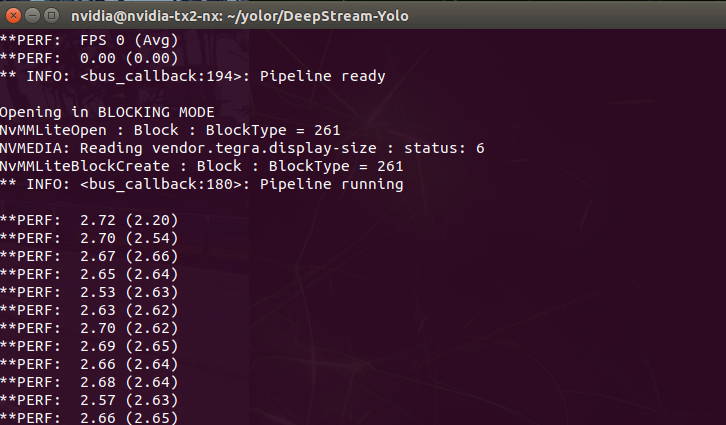
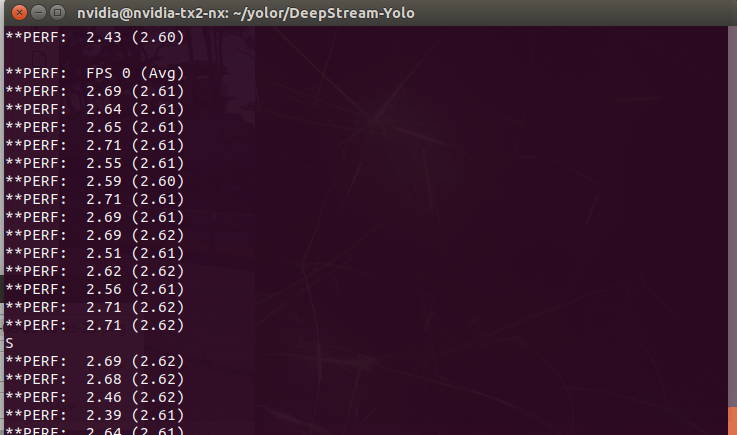
Test the download model using the command:
deepstream-app -c deepstream_app_config.txt
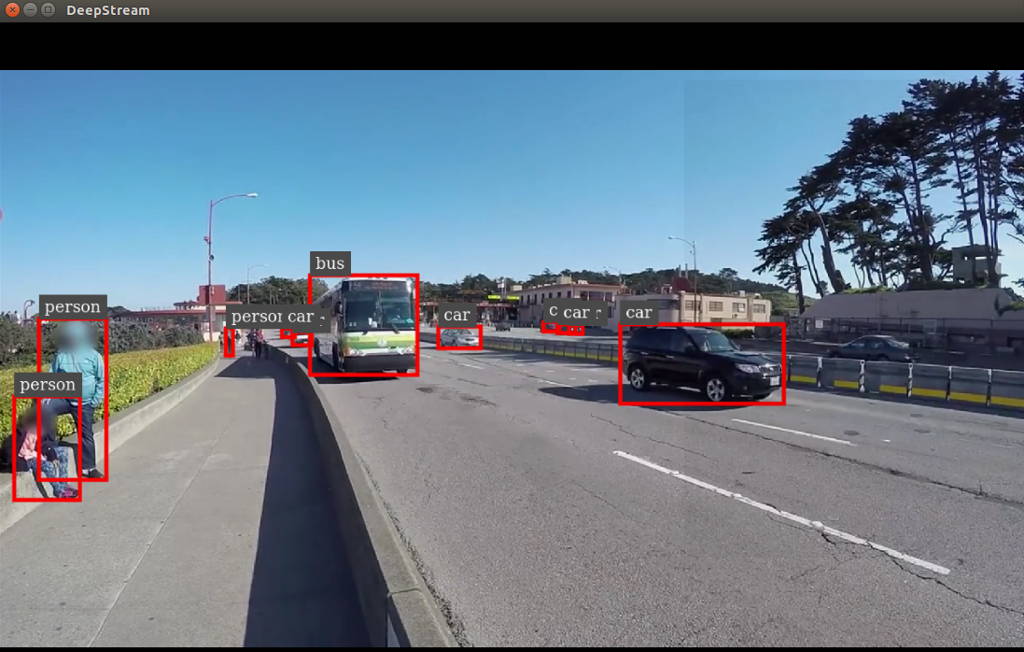
You should obtain the results below after the command is successfully executed.

Thank you for reading our blog post.