How to Download & Build MediaPipe on NVIDIA Jetson Xavier NX?
WHAT YOU WILL LEARN?
1. How to Download & Build MediaPipe?
2. How to Install MediaPipe?
ENVIRONMENT
Hardware: DSBOX-NX2 Xavier-NX 16GB with NVME SSD
OS: JetPack-5.0.2
In this blog-post, we will download & build MediaPipe on NVIDIA Jetson Xavier NX. First, we will download the source files from GitHub. Then, we will install the required packages. Finally, we will build & test it using a test file.
How to Download & Build MediaPipe?
Follow the instruction to setup Bazel from here.
Then, clone the MediaPipe repository with the command below.
git clone -b v0.8.11 https://github.com/google/mediapipe.git

sudo apt-get update

Install python3-dev using the command:
sudo apt install -y python3-dev

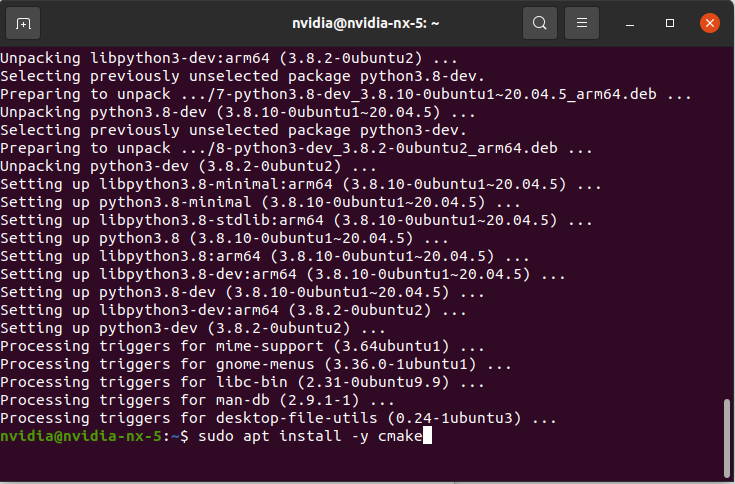
Install cmake using the command:
sudo apt install -y cmake
Install protobuf-compiler using the command:
sudo apt install -y protobuf-compiler

Install pip using the command:
sudo apt install pip

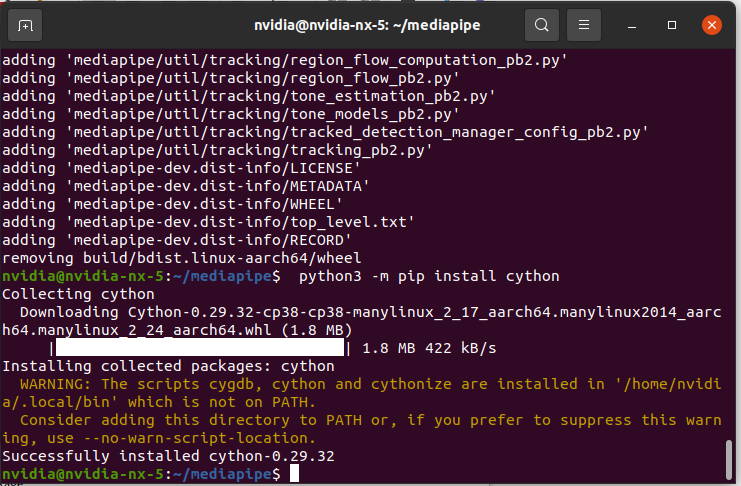
Install cython using the command:
python3 -m pip install cython
Install dlib using the command:
python3 -m pip install dlib

Install imutils using the command:
python3 -m pip install imutils

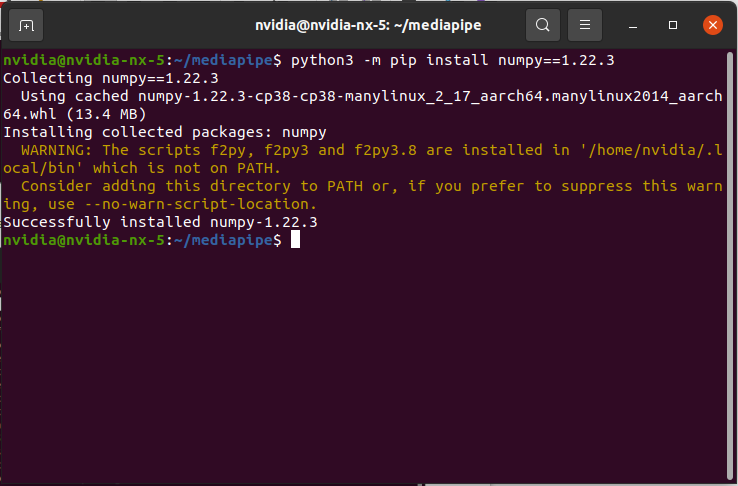
Install numpy using the command:
python3 -m pip install numpy==1.22.3
Then, modify mediapipe/setup.py like the following:
Delete selected line and add given line:
“self._protoc, '-I.', '-I/usr/local/include', '--python_out=' + os.path.abspath(self.build_lib), source”
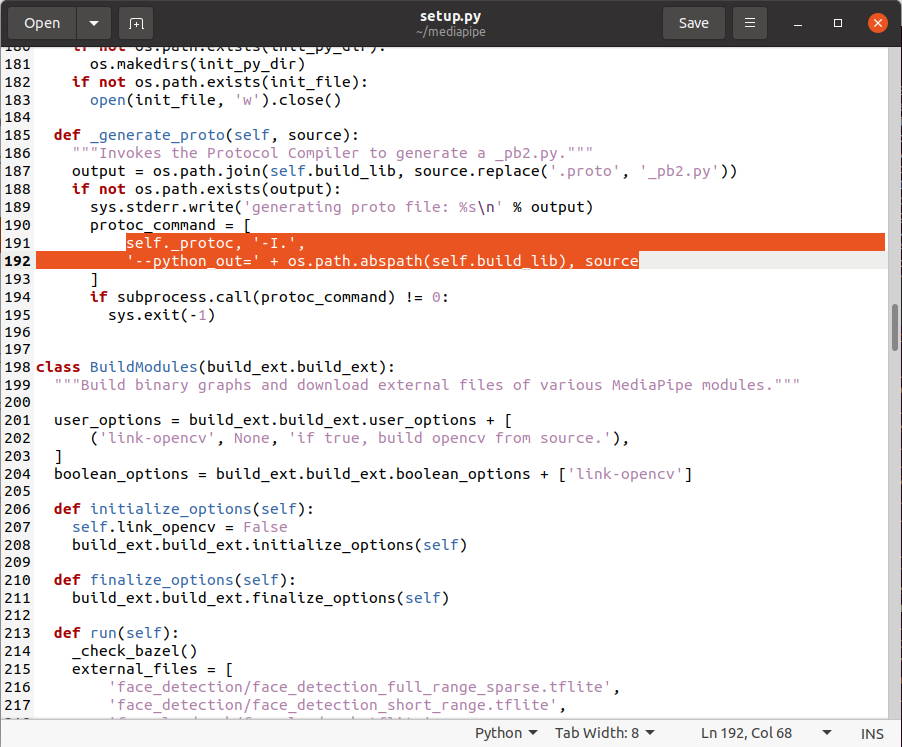

After that save the file and close it.
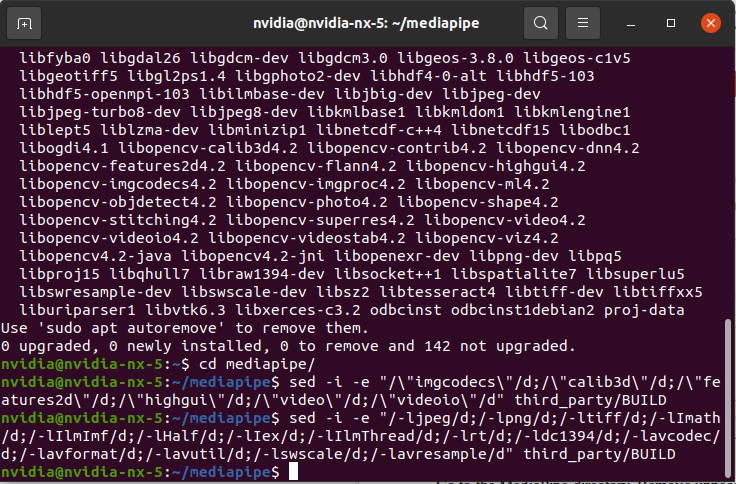
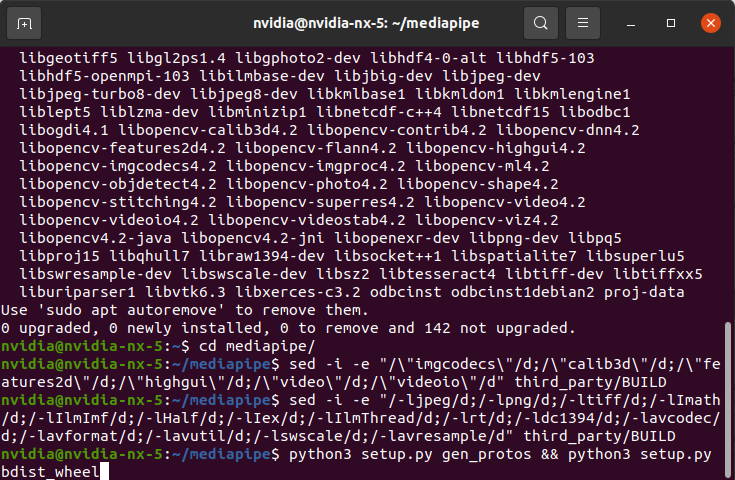
Go to the MediaPipe directory. Remove unnecessary OpenCV modules and linker flags.
sed -i -e "/\"imgcodecs\"/d;/\"calib3d\"/d;/\"features2d\"/d;/\"highgui\"/d;/\"video\"/d;/\"videoio\"/d" third_party/BUILD
sed -i -e "/-ljpeg/d;/-lpng/d;/-ltiff/d;/-lImath/d;/-lIlmImf/d;/-lHalf/d;/-lIex/d;/-lIlmThread/d;/-lrt/d;/-ldc1394/d;/-lavcodec/d;/-lavformat/d;/-lavutil/d;/-lswscale/d;/-lavresample/d" third_party/BUILD
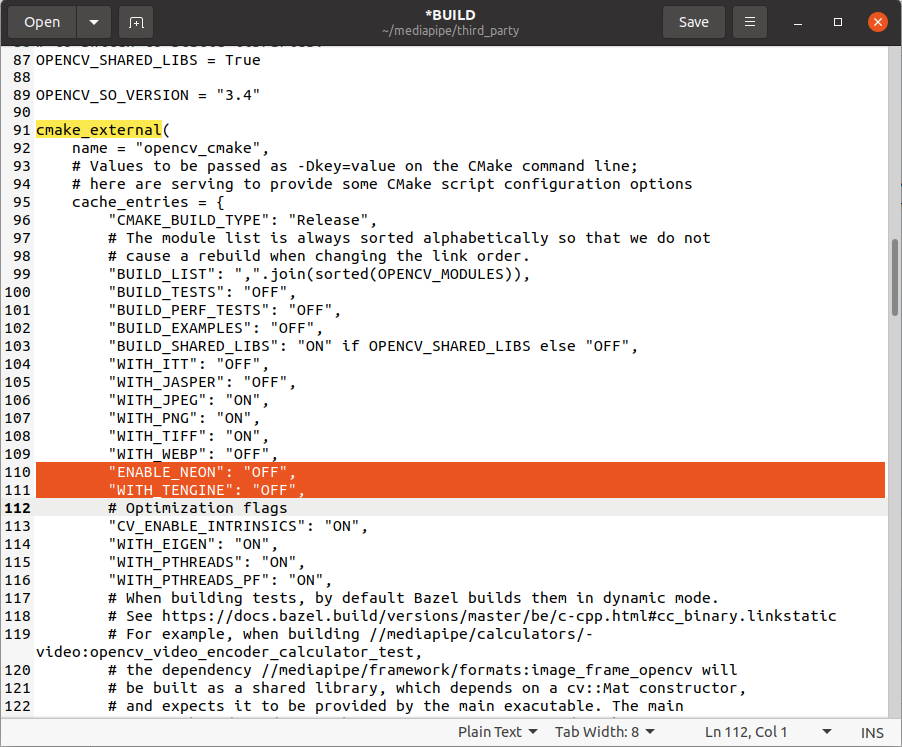
Add given lines to cmake_external in third_party/BUILD file.
"ENABLE_NEON": "OFF",
"WITH_TENGINE": "OFF",
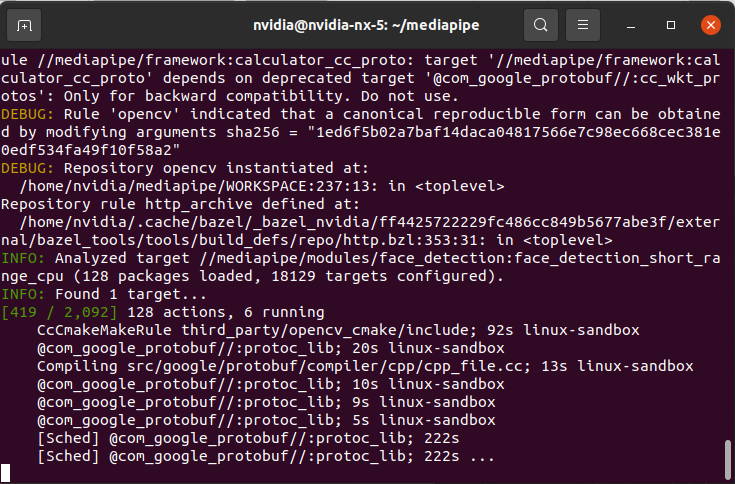
Build MediaPipe using the command:
python3 setup.py gen_protos && python3 setup.py bdist_wheel

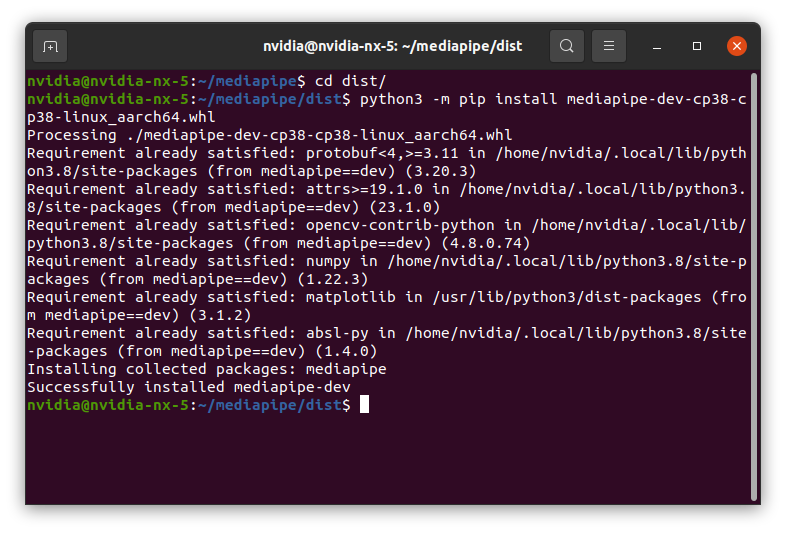
How to Install MediaPipe?
Install MediaPipe using built package (The username is "nvidia" on our Jetson).
cd dist/
python3 -m pip install mediapipe-dev-cp38-cp38-linux_aarch64.whl
Let's test MediaPipe with the test files under Python directory (The username is "nvidia" on our Jetson).
python3 ../mediapipe/python/image_test.py

Thank you for reading our blog post.