How to Clone NVME SSD Image of Jetson Orin NX or Orin Nano Module?
1- How to get backup image from Jetson module
2- How to flash the backup image
3- How to reflash the QSPI image
Hardware: DSBOARD-ORNX
OS: JetPack-5.1.1
In this blog post, we will clone a Jetson Orin NX module and restore another module with “l4t_backup_restore.sh” script file. First, we will put the it in Recovery Mode and clone the file system on NVME SSD. Then, we will restore to the target device with the same script file.
Attention: This guide is compatible for Jetson Orin Nano modules as well.
Getting the Backup Image from Jetson Module
To get the backup image for Orin NX (or Orin Nano), there are some modifications on the script files. Firstly, we need to download the correct patch file.
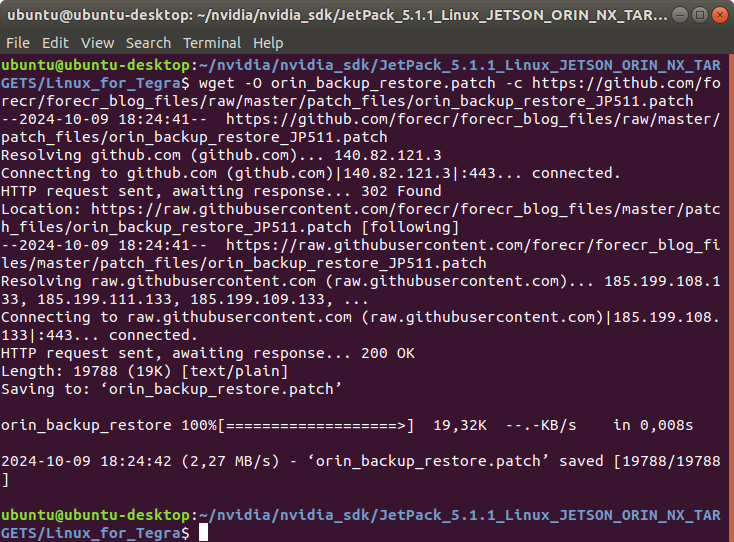
For JetPack-5.1.1, run this command below:
wget -O orin_backup_restore.patch -c https://github.com/forecr/forecr_blog_files/raw/master/patch_files/orin_backup_restore_JP511.patch
For JetPack-5.1.2, run this command below:
wget -O orin_backup_restore.patch -c https://github.com/forecr/forecr_blog_files/raw/master/patch_files/orin_backup_restore_JP512.patch
For JetPack-5.1.3, run this command below:
wget -O orin_backup_restore.patch -c https://github.com/forecr/forecr_blog_files/raw/master/patch_files/orin_backup_restore_JP513.patch
For JetPack-5.1.4, run this command below:
wget -O orin_backup_restore.patch -c https://github.com/forecr/forecr_blog_files/raw/master/patch_files/orin_backup_restore_JP514.patch
For JetPack-6.0, run this command below:
wget -O orin_backup_restore.patch -c https://github.com/forecr/forecr_blog_files/raw/master/patch_files/orin_backup_restore_JP60.patch
For JetPack-6.1, you won't need a patch file to download. You can directly continue from the backup image creating part below.
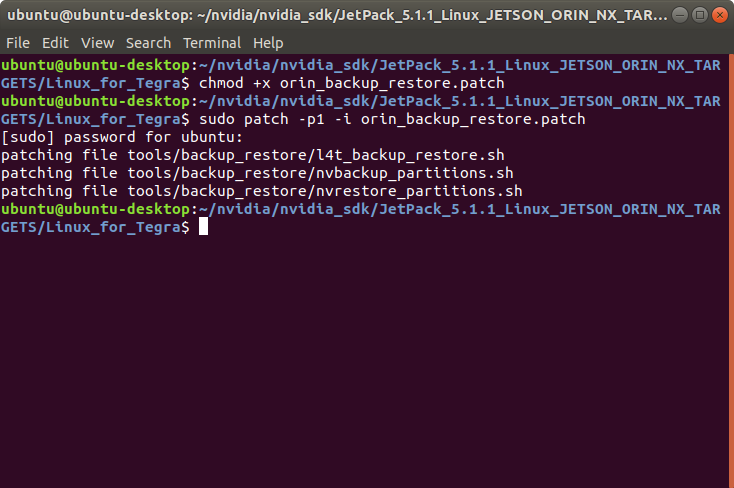
Then, open a terminal from the "Linux_for_Tegra" folder and type the following commands below:
chmod +x orin_backup_restore.patch
sudo patch -p1 -i orin_backup_restore.patch
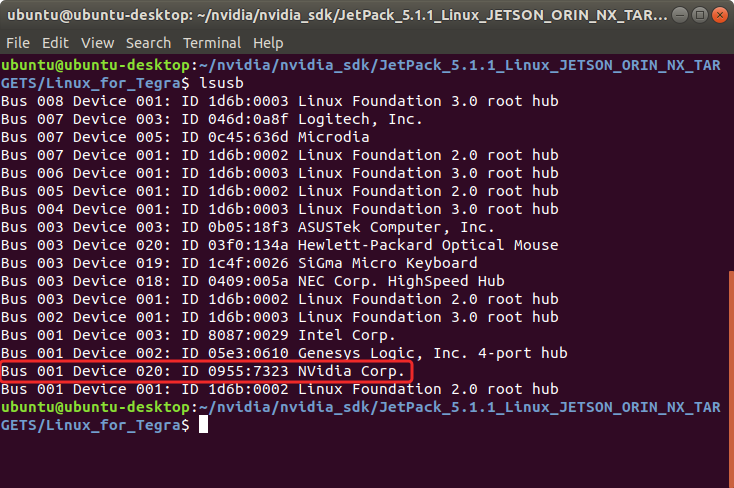
Set the Jetson in recovery mode and connect it to the host PC. Afterwards, type "lsusb" and check the device connected in Recovery mode.
• "0955:7323 NVidia Corp." for Orin NX 16GB
• "0955:7423 NVidia Corp." for Orin NX 8GB
• "0955:7523 NVidia Corp." for Orin Nano 8GB
• "0955:7623 NVidia Corp." for Orin Nano 4GB
lsusb
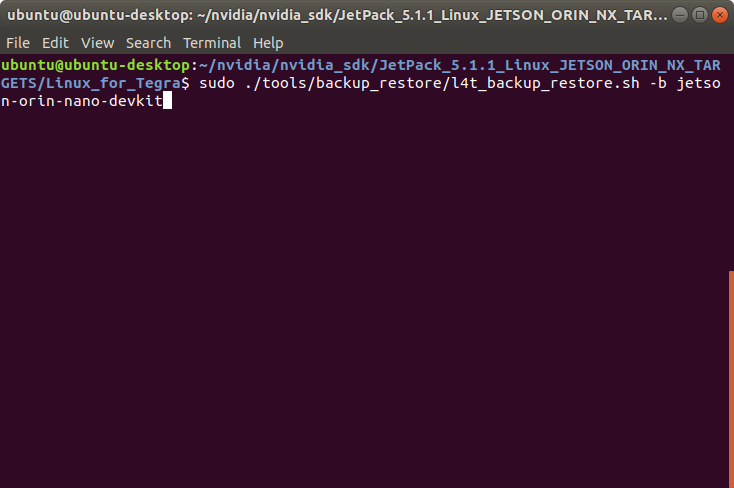
For JetPack-5.1.1, create the backup image with this command below:
sudo ./tools/backup_restore/l4t_backup_restore.sh -b jetson-orin-nano-devkit
For JetPack-5.1.2 or later, create the backup image with this command below:
sudo ./tools/backup_restore/l4t_backup_restore.sh -e nvme0n1 -b jetson-orin-nano-devkit
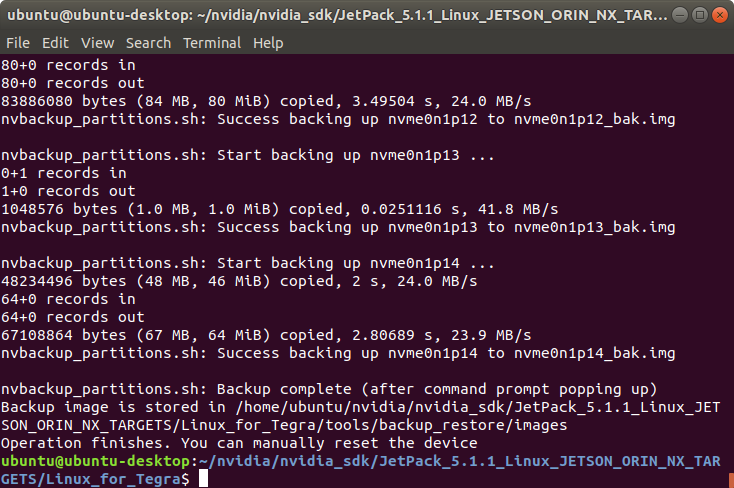
A few seconds later, the script file will start the backup process.
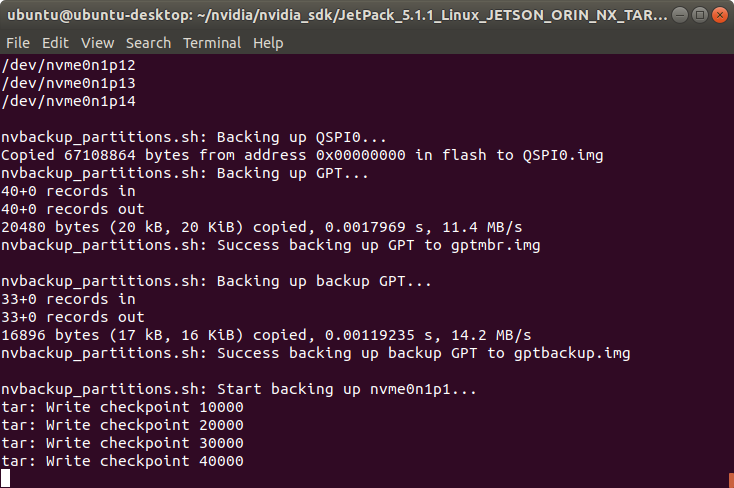
At the end of the clone command, the backup images for each partition was created and the system is ready to restore to another Jetson module.
Flashing the Backup Image
Set the Jetson module in recovery mode and type “lsusb”.
lsusb

Now, burn the backup image.
For JetPack-5.1.1, run this command below:
sudo ./tools/backup_restore/l4t_backup_restore.sh -r jetson-orin-nano-devkit
For JetPack-5.1.2 or later, run this command below:
sudo ./tools/backup_restore/l4t_backup_restore.sh -e nvme0n1 -r jetson-orin-nano-devkit

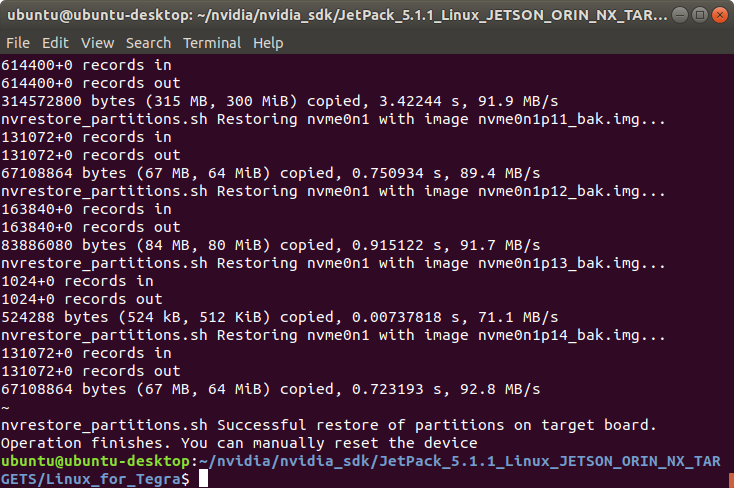
A few seconds later...
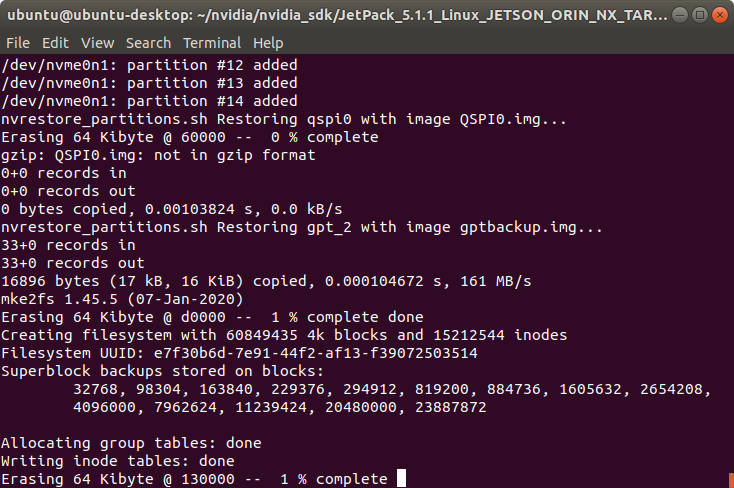
At the end of the image burning process, the target device will ready to reboot.
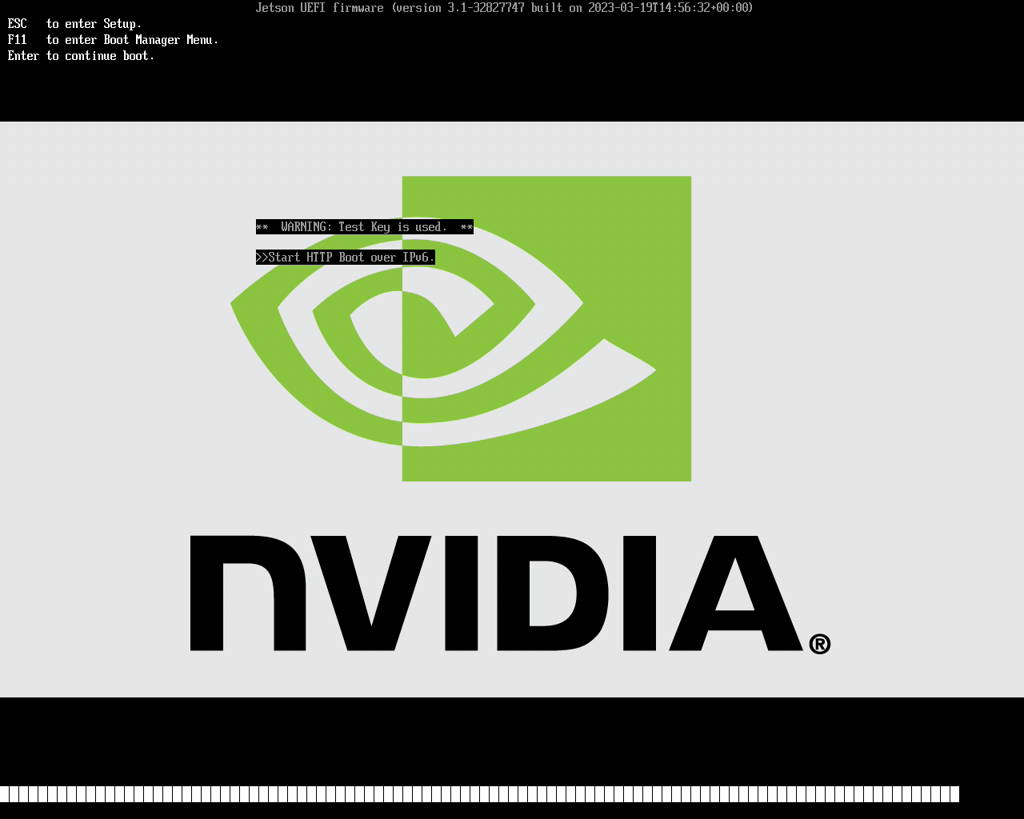
Attention: If you restored the backup image to another Jetson, you may get long boot-up time problem (due to the different boot order structure). If you are using the display output of the product, you will get the following screen below to wait it longer (approximately 3-5 minutes):
[Optional] Reflashing the QSPI Image
Set the Jetson in recovery mode again.
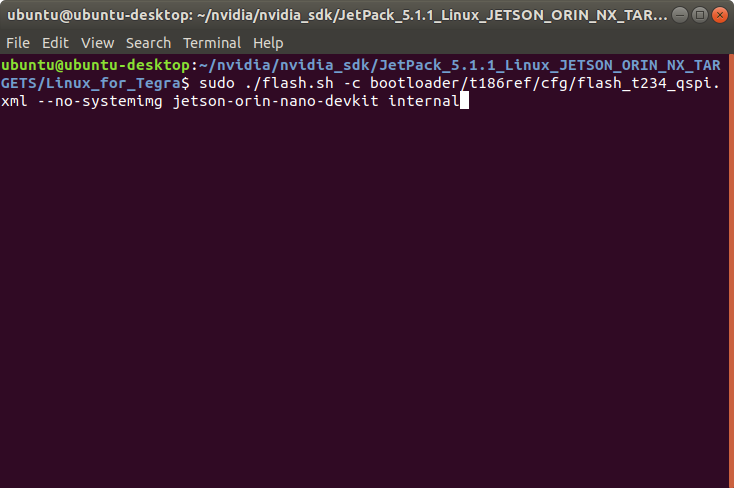
For JetPack-5, run the following command to flash the QSPI image:
sudo ./flash.sh -c bootloader/t186ref/cfg/flash_t234_qspi.xml --no-systemimg jetson-orin-nano-devkit internal
For JetPack-6, run the following command to flash the QSPI image:
sudo ./flash.sh -c bootloader/generic/cfg/flash_t234_qspi.xml --no-systemimg jetson-orin-nano-devkit internal
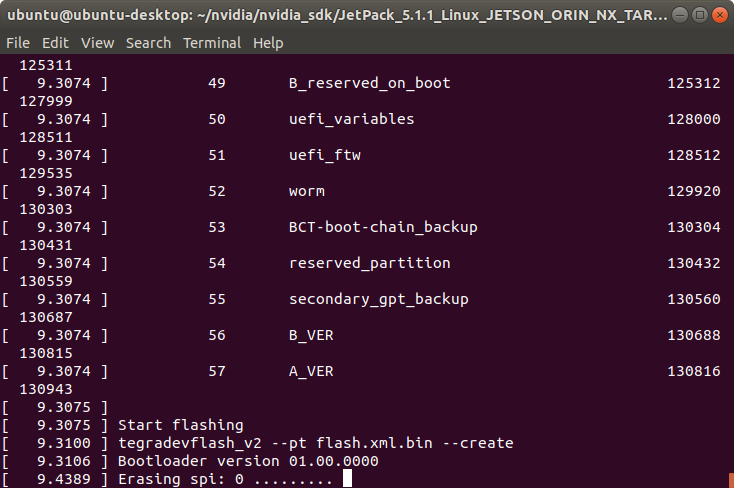
A few seconds later, the script file will start to erase the SPI.
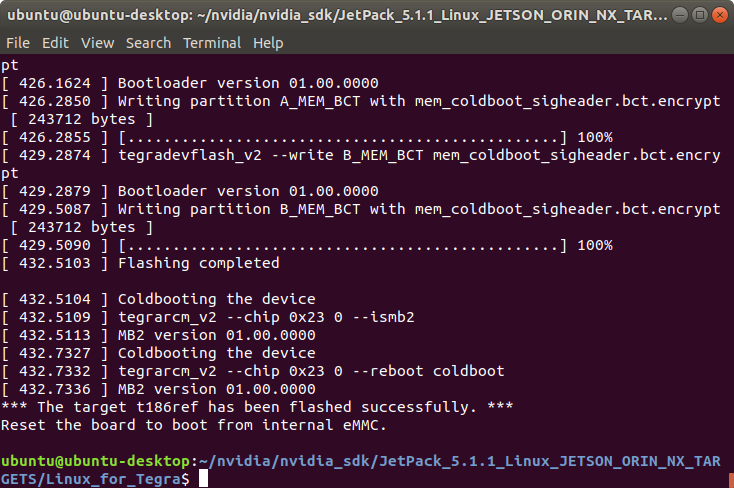
At the end of the script, the Jetson will reboot & it becomes ready for use.
Thank you for reading our blog post.