How to Use Quectel EM06-E LTE Module with DSBOX-TX2NX?
WHAT YOU WILL LEARN?
ENVIRONMENT
Hardware: DSBOX-TX2NX
OS: JetPack 4.6
In this blog post, we will connect mobile broadband with Quectel EM06-E LTE GSM module. First, we will enable M.2 Key-B slot’s power. Then, we will connect to the Internet with this mobile broadband.
Hint: In this tutorial, we connected our GSM antennas on this module's M & D ports.
Enabling M.2 Key-B Slot’s Power
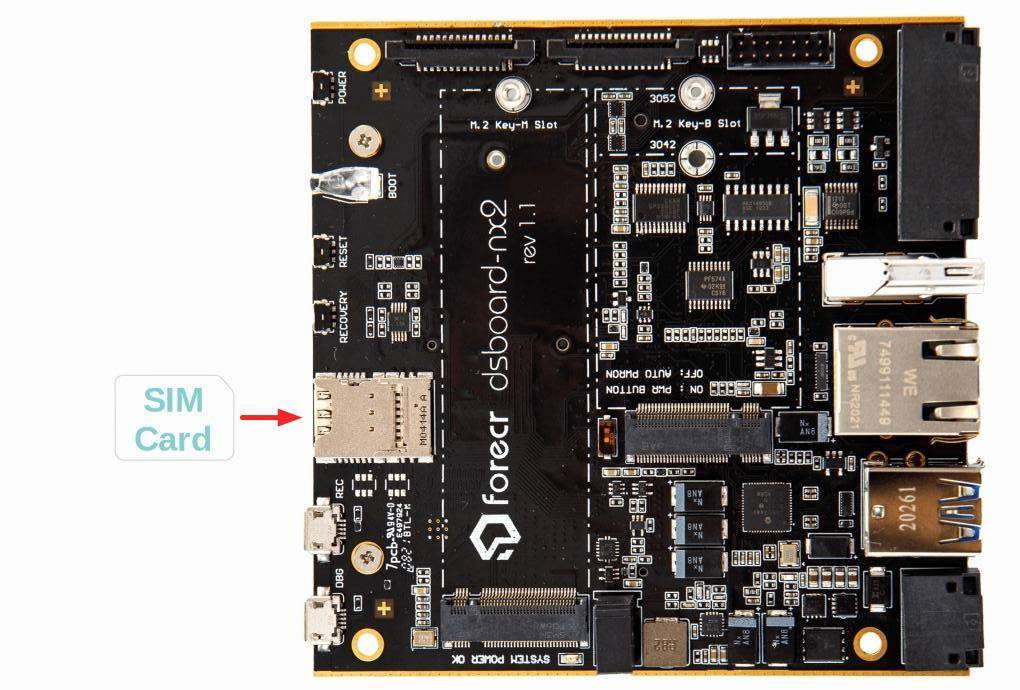
Connect the Quectel EM06-E LTE GSM module & SIM card on DSBOARD-NX2. Then, power up the system.
You can see the mounting direction of nano SIM card on the connector (nano SIM - micro SD card) below.
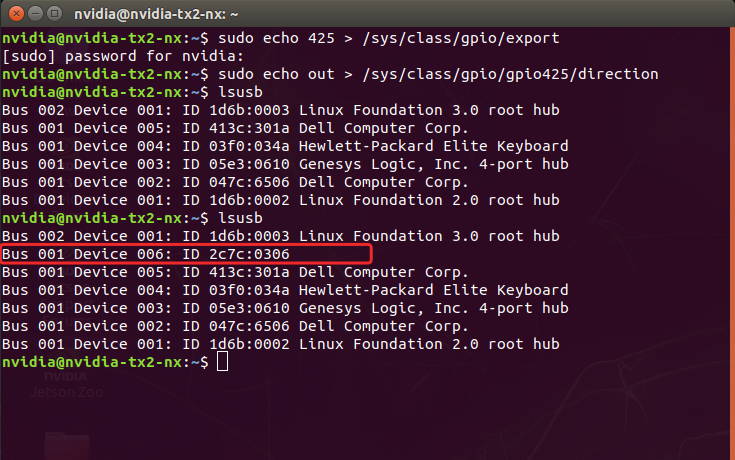
Open a terminal and type these commands below (the Key-B power pin for TX2 NX is 425, for Xavier NX is 421):
sudo echo 425 > /sys/class/gpio/export
sudo echo out > /sys/class/gpio/gpio425/direction
Then, type “lsusb” after 10 seconds later to check the Quectel GSM module powered on.
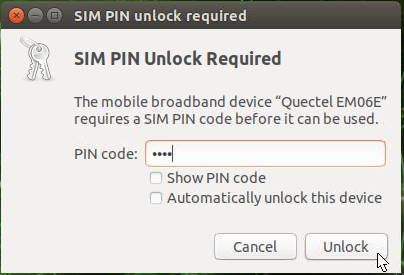
After the GSM module powered up, the PIN code will ask (if it was not disabled).
Type the PIN code and unlock the SIM card.
Connecting to the Mobile Broadband
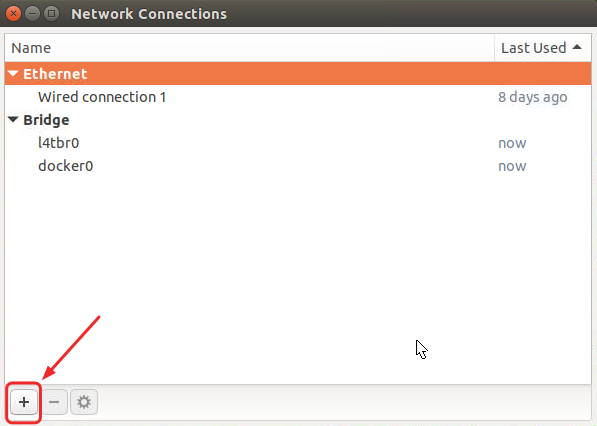
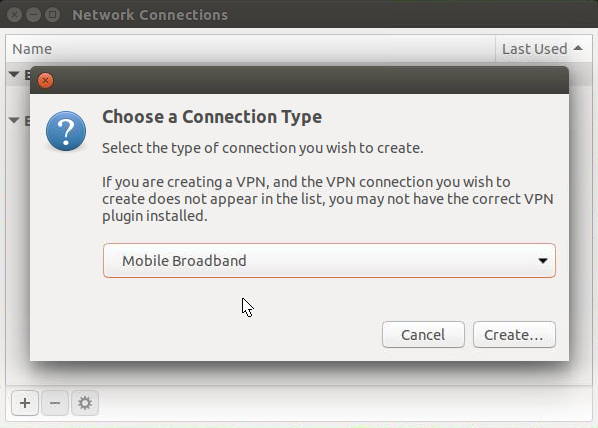
Open the network connection menu at the top of the launcher and click the “Edit Connections...”.

Press the plus button and select “Mobile Broadband”.
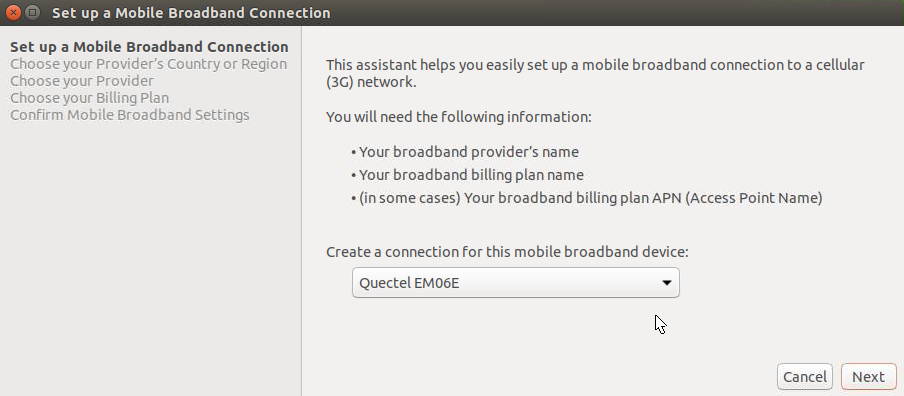
Select “Quectel EM06E” mobile broadband device and continue to the next step.
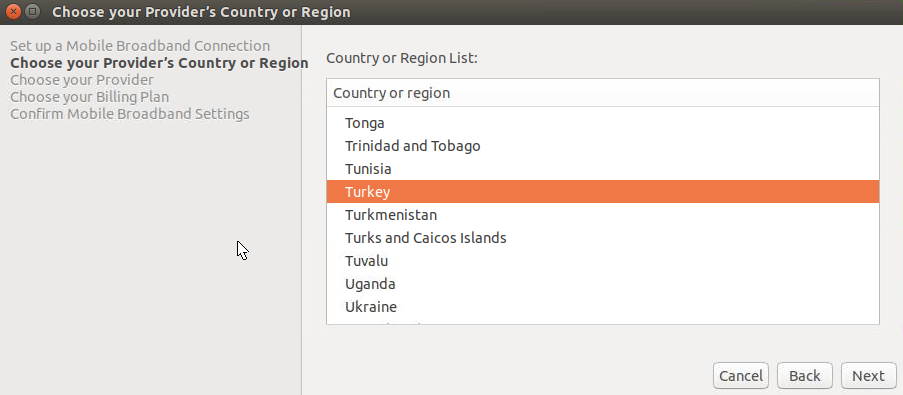
Select your country/region and continue.
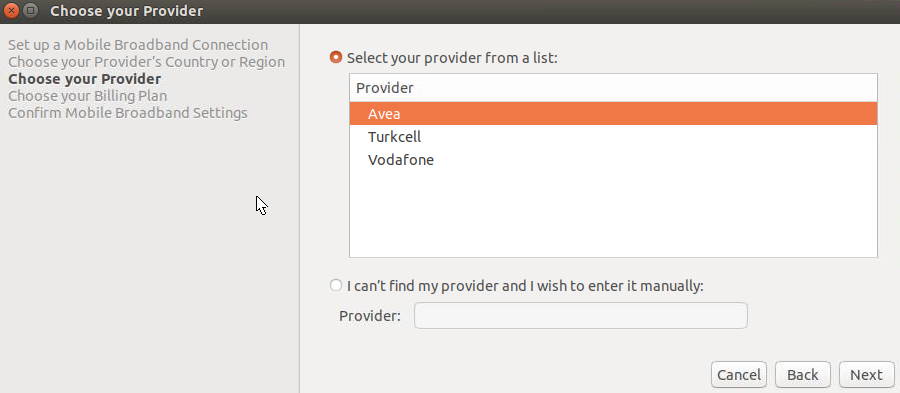
Select your provider and continue.
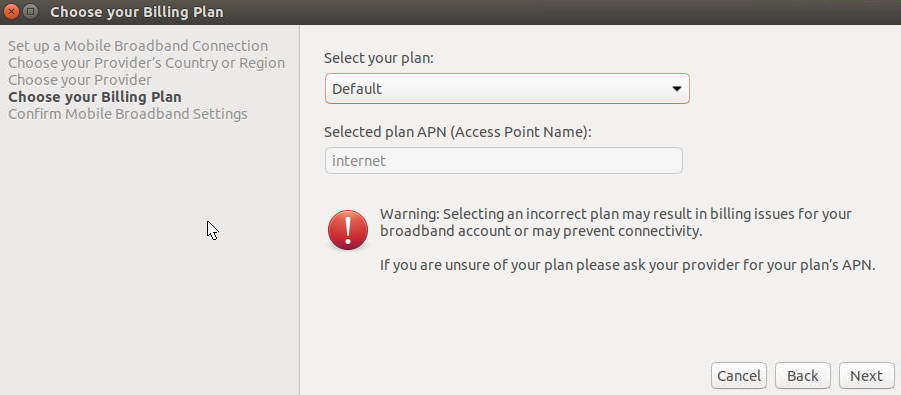
Select your billing plan and continue.
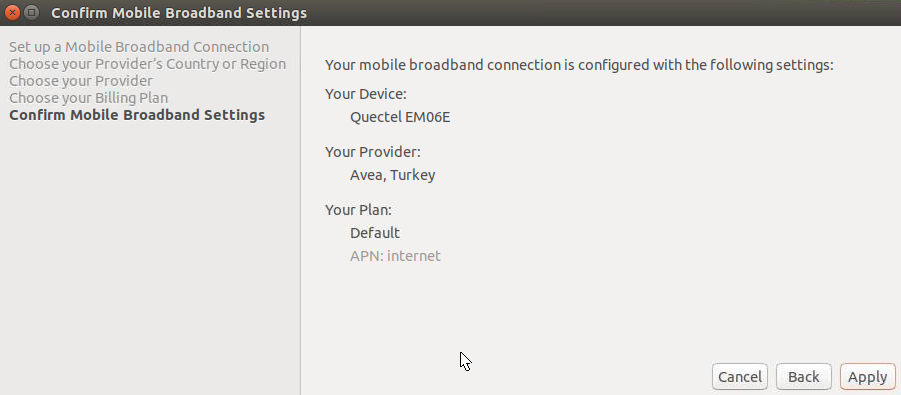
Look up the network configuration and apply it.
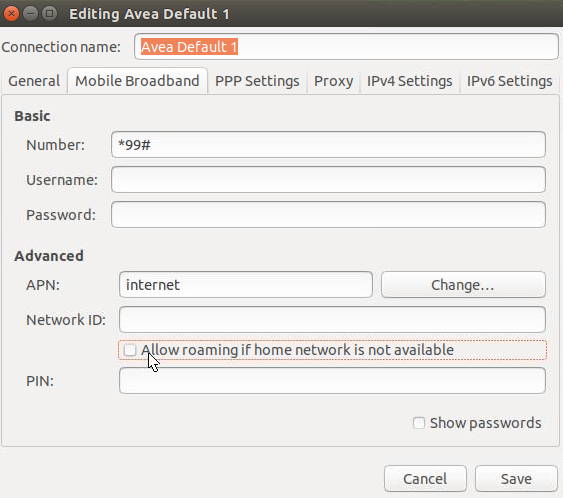
Then save the generated connection to connect on it.
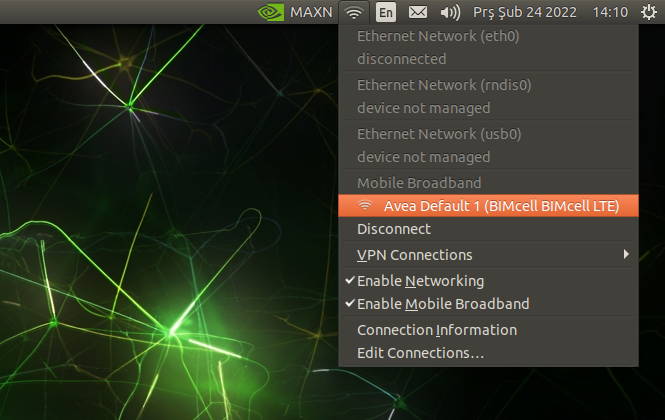
As you can see that, our mobile broadband connection established.
Finally, let’s test it on browser.
Thank you for reading our blog post.