How to install ROS 2 Humble Hawksbill
WHAT YOU WILL LEARN?
1- How to install ROS 2 Humble Hawksbill from source on Ubuntu 22.04 for NVIDIA® Jetson™ Modules
2- Setup Sources
3- Install ROS 2 packages
4- Creating a Workspace
5- Build the workspace with colcon
ENVIRONMENT
OS: Ubuntu 22.04
Hardware: All NVIDIA® Jetson™ Modules
How to install ROS 2 Humble Hawksbill from source on Ubuntu 22.04 for NVIDIA® Jetson™ Modules
In this blog post, we will talk about how to install ROS 2 Humble Hawksbill
Setup Sources
You will need to add the ROS 2 apt repository to your system.
First ensure that the Ubuntu Universe repository is enabled.
$ sudo apt install software-properties-common
$ sudo add-apt-repository universe

Now add the ROS 2 GPG key with apt.
$ sudo apt update && sudo apt install curl -y
$ sudo curl -sSL https://raw.githubusercontent.com/ros/rosdistro/master/ros.key -o/usr/share/keyrings/ros-archive-keyring.gpg


Then add the repository to your sources list.
$ echo "deb [arch=$(dpkg --print-architecture) signed-by=/usr/share/keyrings/ros-archive-keyring.gpg] http://packages.ros.org/ros2/ubuntu $(. /etc/os-release && echo
$UBUNTU_CODENAME) main" | sudo tee /etc/apt/sources.list.d/ros2.list > /dev/null

Install ROS 2 packages
Desktop Install (Recommended): ROS, RViz, demos, tutorials.
$ sudo apt install ros-humble-desktop

Try Example
$ source /opt/ros/humble/setup.bash
$ ros2 run demo_nodes_cpp talker
In another terminal source the setup file and then run a Python listener:
$ source /opt/ros/humble/setup.bash
$ ros2 run demo_nodes_py listener


You should see the talker saying that it’s Publishing messages and the listener saying I heard those messages. This verifies both the C++ and Python APIs are working properly
Creating a Workspace
We have created our test. This test allows control power led via sending data. Before starting, let's create a workspace.
$ mkdir -p ~/ros2_ws/src
$ cd ~/ros2_ws/src
Resolve dependencies
$ cd ..
$ rosdep install -i --from-path src --rosdistro humble -y


Build the workspace with colcon
From the root of your workspace (ros2_ws), you can now build your packages using the command:
$ colcon build

$ tar -xvf forecr_test.tar.xz

Before test you need to go root file (ros2_ws) and rerun colcon command again. Because we have just added new src.

Go image file and source your overlay.
$ source setup.bash

Check forecr_test src installed well with this following command
$ ros2 pkg list | grep forecr

Run Led Test
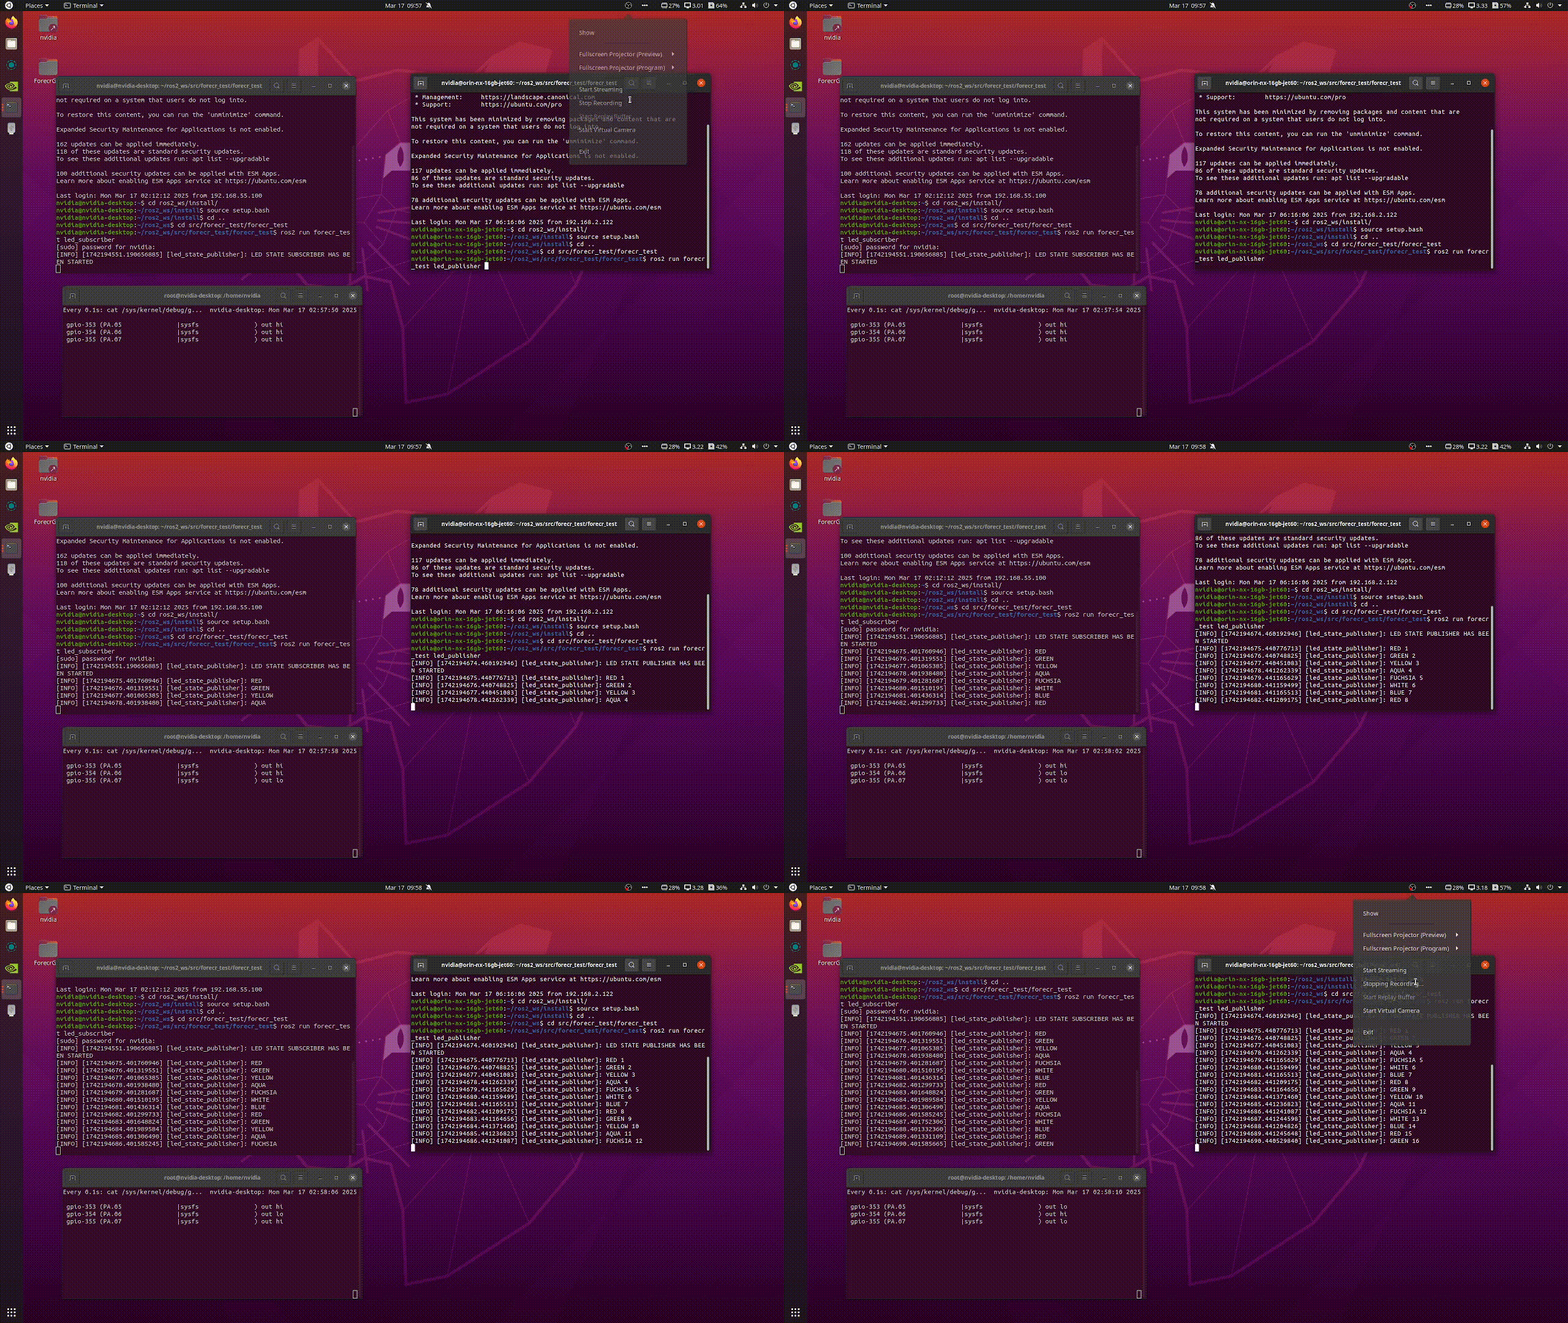
Go src/forecr_test/forecr_test and run led_subscriber and led_publisher commands. You can run these commands individual terminals.
$ source ~/ros2_ws/install/setup.bash
$ ros2 run forecr_test led_publisher
$ source ~/ros2_ws/install/setup.bash
$ ros2 run forecr_test led_subscriber

As seen in the video. the command that came from publisher has been seen in subscriber terminal. also power led color has been changing according to the data from the subscriber terminal.
Thank you for reading our blog post.


