Boot Logo Customization on NVIDIA® Jetson™ Modules
WHAT YOU WILL LEARN?
ENVIRONMENT
Hardware: DSBOARD-XV
OS: Ubuntu 16.04.1 LTS
Language: C++
DOWNLOADS
In this blog post, we generate the bmp.blob file, flash the bmp.blob file and change the login logo. We used NVIDIA Jetson Xavier (8GB) module on MILBOARD-XV, but you can use all types of Jetson module.
Required files/devices:
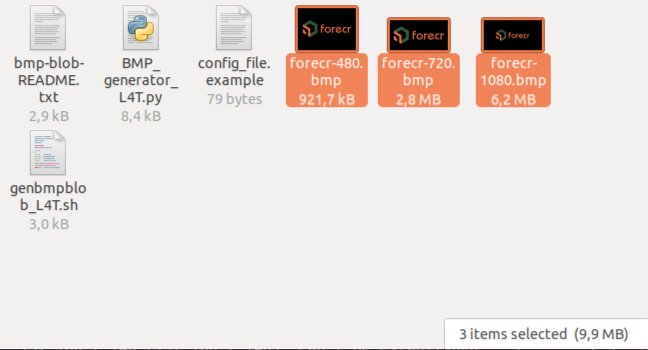
• 24 bit BMP images (x3) (640x480, 1280x720, 1920x1080)
• PNG image (1920x1080)
• JetPack installer host PC
• Jetson module with carrier board
Generate bmp.blob File
In our host PC, SDK Manager creates nvidia folder in HOME directory (~). After booting image, SDK Manager saves flashing files. Your blob file generator's path should located in "Linux_for_Tegra/tools/bmp-splash".
Our Xavier (8GB) boards full path is (for JetPack 4.5):
~/nvidia/nvidia_sdk/JetPack_4.5_Linux_JETSON_AGX_XAVIER_8GB/Linux_for_Tegra/tools/bmp-splash
We copied bmp-splash folder into ~/Desktop. (It's up to you.)
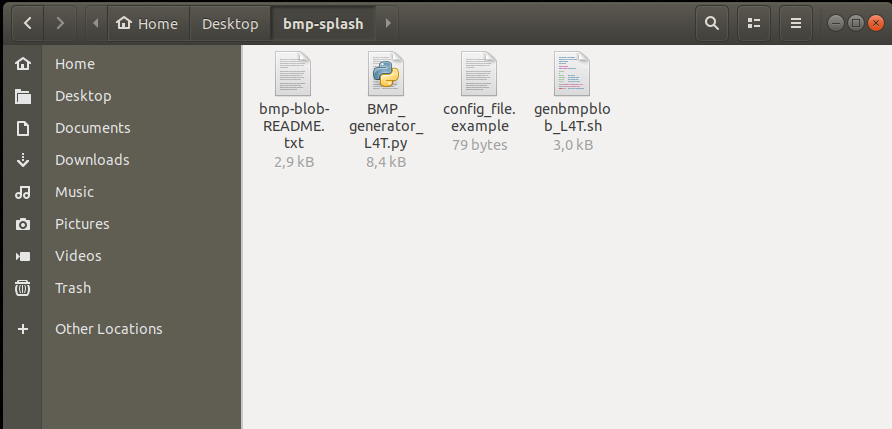
(Hint: All details are in bmp-blob-README.txt file)
First of all, add 24 bit BMP images into bmp-splash folder.
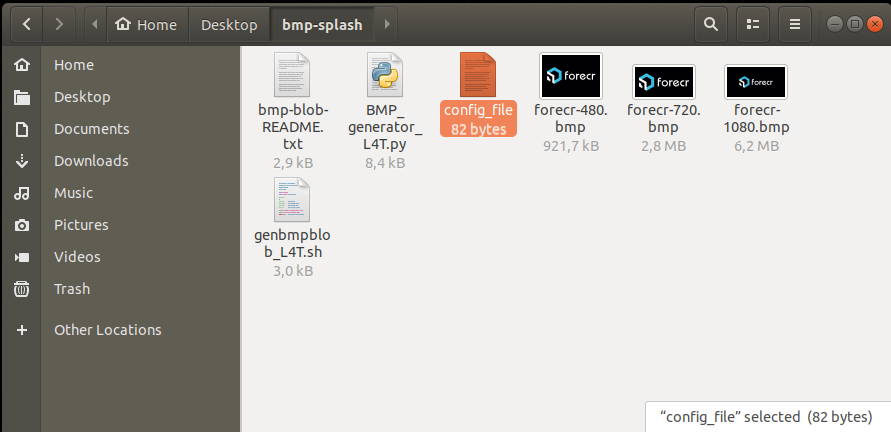
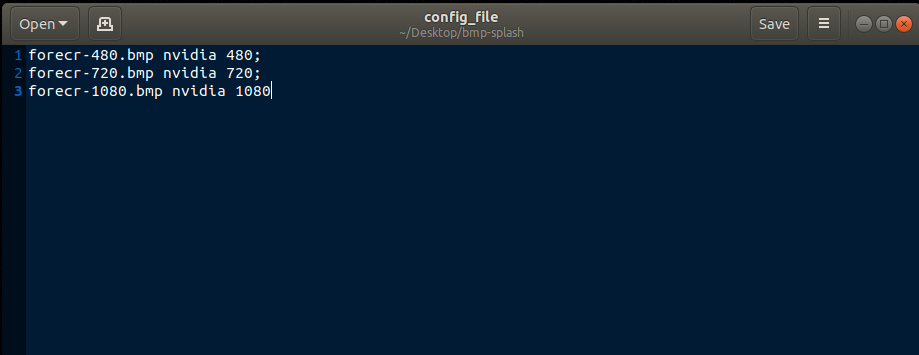
Secondly, change config_file.example's name to config_file and change inside like that:
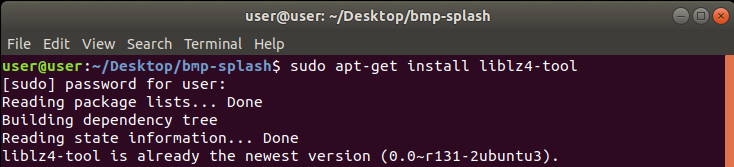
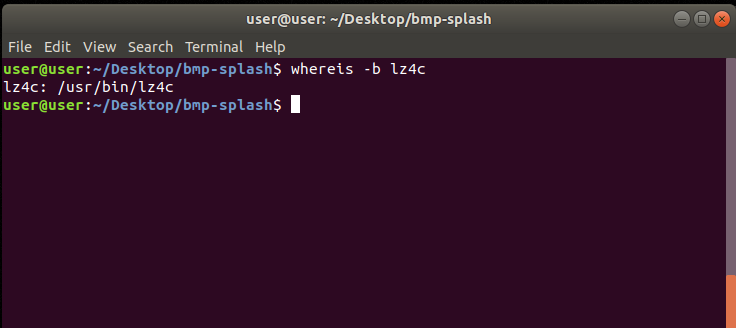
Install liblz4-tool and get its full path.
sudo apt-get install liblz4-tool
whereis -b lz4c
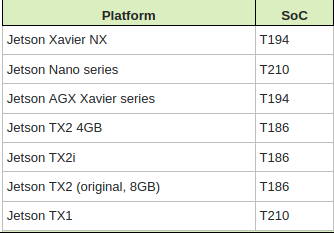
Next, learn Jetson module's chip from this table:
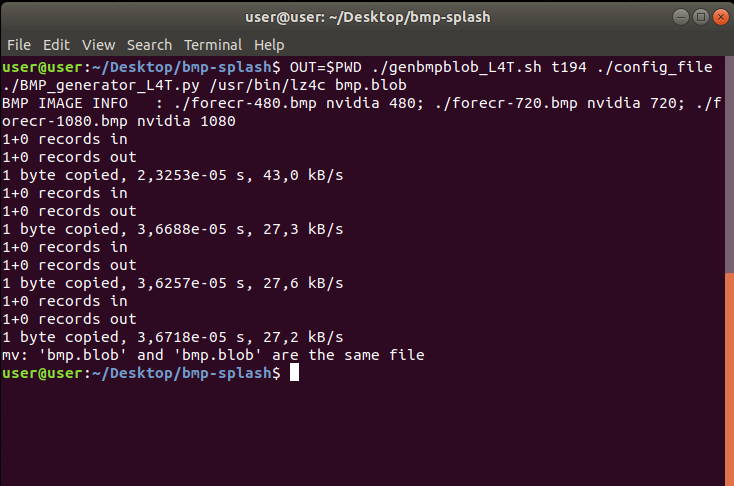
Now, open terminal and generate bmp.blob file with one of these commands:
For Xavier NX or Xavier series:
OUT=$PWD ./genbmpblob_L4T.sh t194 ./config_file ./BMP_generator_L4T.py /usr/bin/lz4c bmp.blob
For Nano or TX1:
OUT=$PWD ./genbmpblob_L4T.sh t210 ./config_file ./BMP_generator_L4T.py /usr/bin/lz4c bmp.blob
For TX2 series:
OUT=$PWD ./genbmpblob_L4T.sh t186 ./config_file ./BMP_generator_L4T.py /usr/bin/lz4c bmp.blob
Flashing the bmp.blob file
Change the default bmp.blob file with your custom file. This file is:
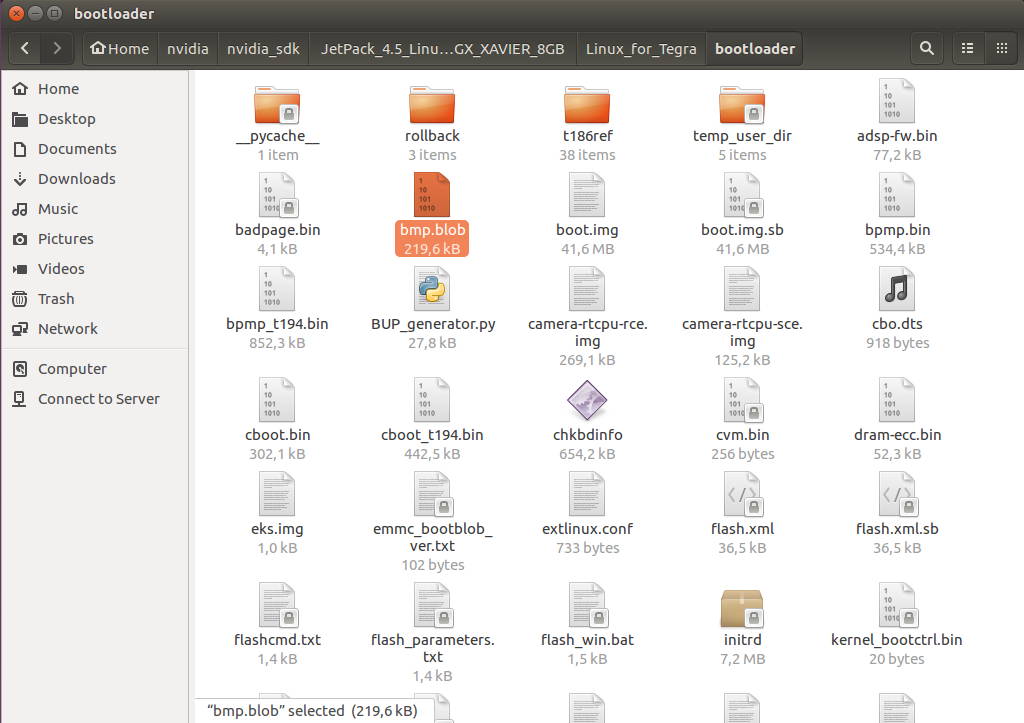
• ~/nvidia/nvidia_sdk/_Linux_/Linux_for_Tegra/bootloader/bmp.blob

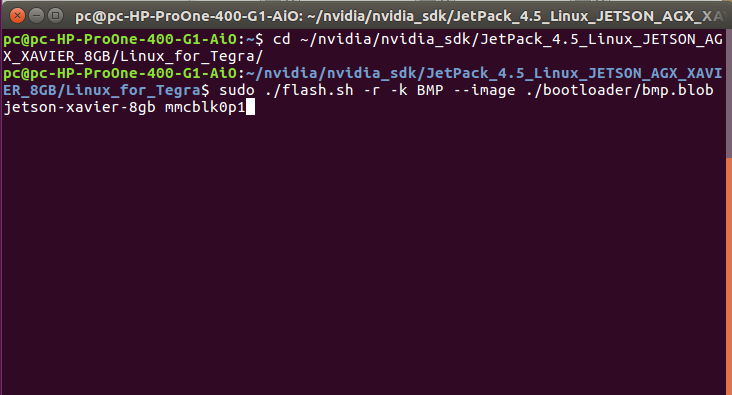
Open your module in Recovery Mode. Change current directory and flash BMP file:
• ~/nvidia/nvidia_sdk/_Linux_/Linux_for_Tegra
• sudo ./flash.sh -r -k BMP --image ./bootloader/bmp.blob
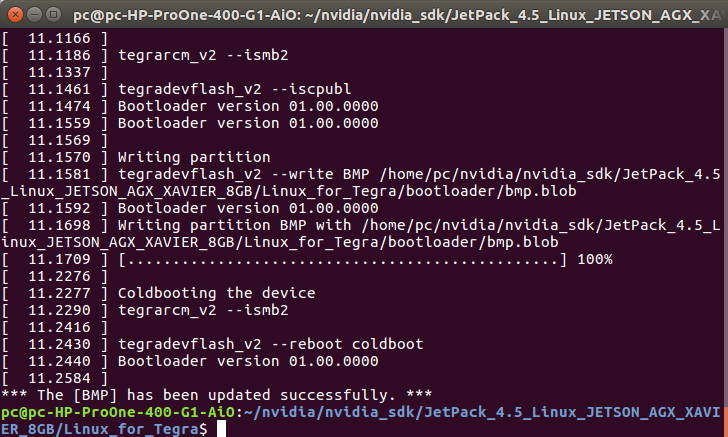
A few seconds later...
Changing the login logo
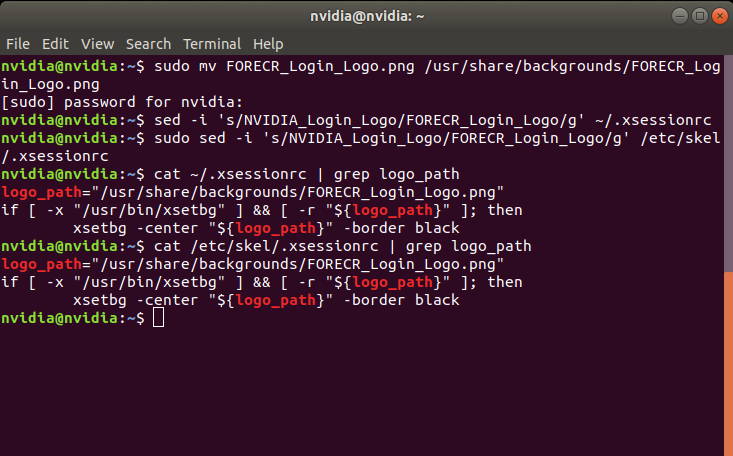
Copy 1080p PNG login logo into module and move into /usr/share/backgrounds. Then, change two xsessionrc files with sed command:
sudo mv FORECR_Login_Logo.png /usr/share/backgrounds/FORECR_Login_Logo.png
sed -i 's/NVIDIA_Login_Logo/FORECR_Login_Logo/g' ~/.xsessionrc
sudo sed -i 's/NVIDIA_Login_Logo/FORECR_Login_Logo/g' /etc/skel/.xsessionrc
cat ~/.xsessionrc | grep logo_path
cat /etc/skel/.xsessionrc | grep logo_path
[Optional] Disable Blinking Text Cursor
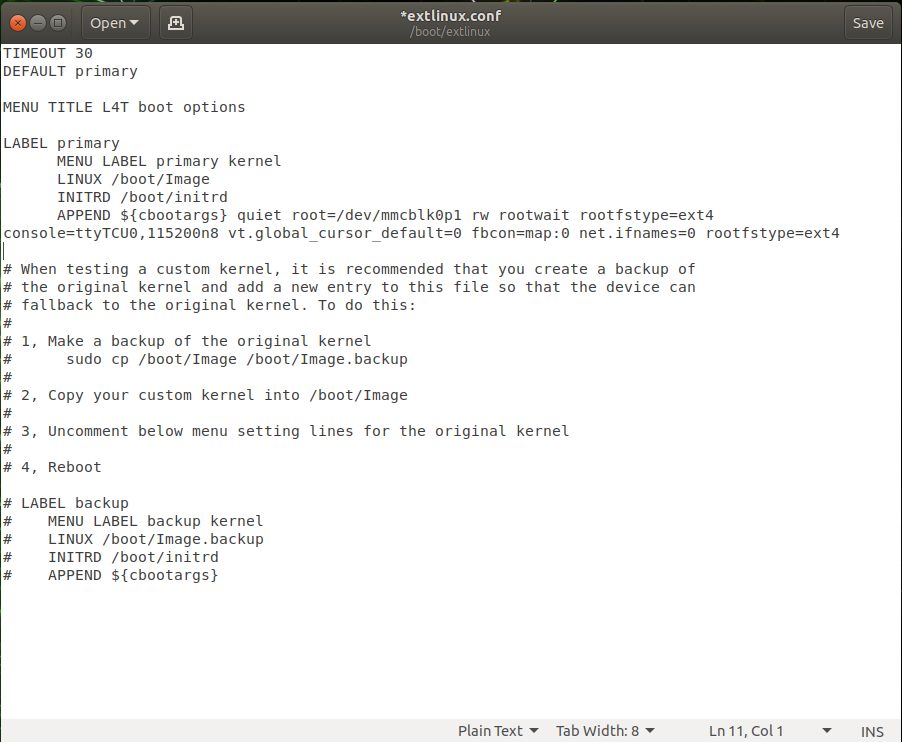
Open /boot/extlinux/extlinux.conf file. Remove "console=tty0" and add "vt.global_cursor_default=0"
Thank you for reading our blog post.