NVIDIA Container Runtime - #3 Build
WHAT YOU WILL LEARN?
1- Including project files into working directory
2- Creating a Dockerfile
3- Configuring the Dockerfile
ENVIRONMENT
Hardware: DSBOARD-NX2
OS: JetPack 4.3 (L4T-32.3.1)
Language: MAXN
In this blog post we will build new container image. With new container image we can run different kind of applications (for an example: Python, Deepstream, CUDA, etc.) in docker container. Also if it is needed, you can run console with additional packages in system.
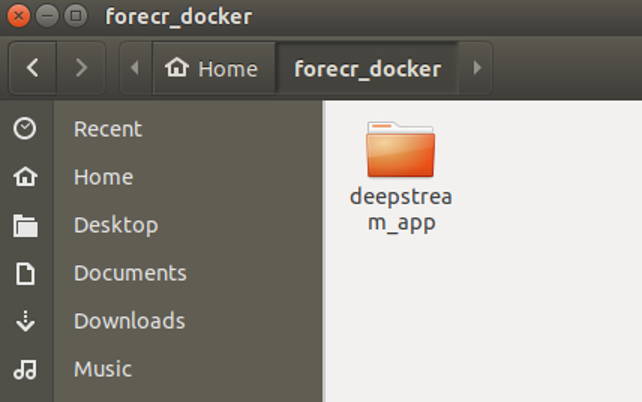
Including project files into working directory
To build a new image first create a folder and copy necessary files (like application source files or binaries) inside it.
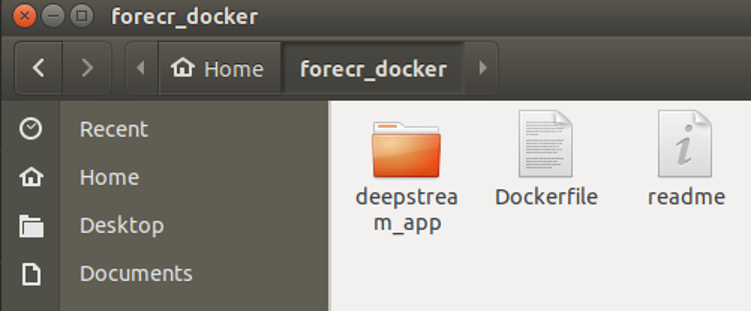
Creating a Dockerfile
Create image file with named "Dockerfile" inside folder.
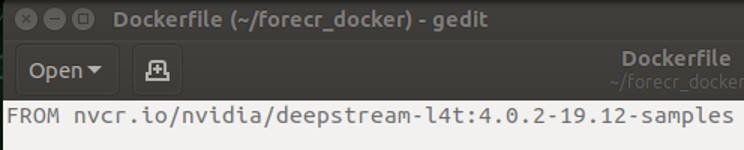
Open "Dockerfile" with your favorite text editor then pass your base image next to "FROM" instruction. In this blog post we will build an image which starts "deepstream" application when it is run. Because of this we selected nvidia 's deepstream sample image.
Configuring the Dockerfile
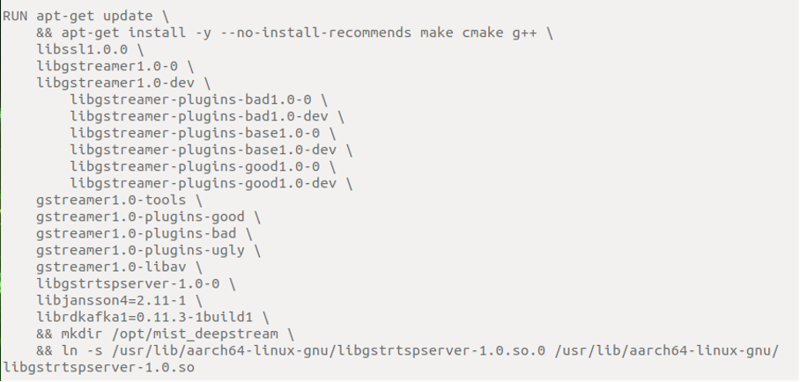
In docker system each instruction inside "Dockerfile" compiled as layer, so order of instructions is important.
On next line you can use "RUN" instruction for necessary terminal commands to install new packages, create folders and symbolic links.
With "COPY" instruction copy your application source files inside container.

Select your work directory to build your application with "WORKDIR" instruction. Then again with "RUN" instruction build your application.

After building you should define your image startup functionality with "ENTRYPOINT" and "CMD" instructions. Difference between them is "ENTRYPOINT" is static, "CMD" is changeable. When you use "docker run" command to run container you can change "CMD" instruction.

Lastly, you can push your image to online registry for example "DockerHub". To do this first login then push your image to registry.
Thank you for reading our blog post.